When going the DIY route however there is one stumbling block that will hamper your creativity: boring fonts. Most people will design their invitations in an easy to use word processing program like Microsoft Word. The only issue with Word is it comes pre-loaded with some of the most boring fonts on the planet.
There are several totally free websites that have a multitude of cool and fun fonts. A few of them include:
- 1001 Free Fonts- my personal favorite.
- Dafont.com
- Urbanfonts.com
Granted, there are hundreds more than the 3 above I just mentioned. Just google "free fonts" and you'll see there are tons for you to sort through.
So after you find a font you like the next step is to download it and load it into the "fonts" folder for your Microsoft Office. The directions as follows are for if you have a Windows computer.
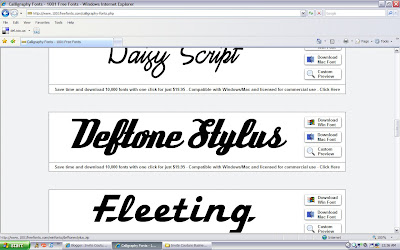
- First download the necessary font for your operating system (Windows or Mac) via the free fonts website of your choice.
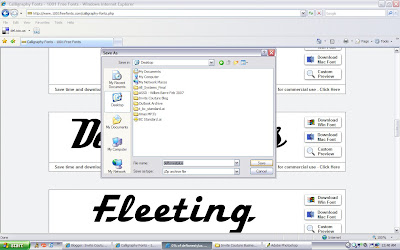
- When your computer prompts you as to where to save the file, save it to your desktop. (Note: you could save the file anywhere that's easiest for you, I just find the desktop to be easiest)
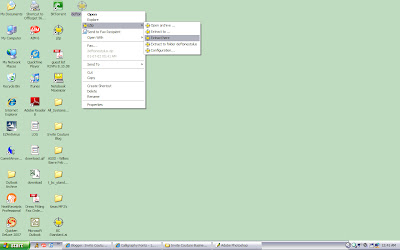
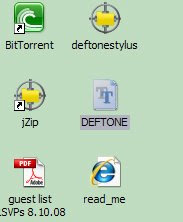
- Usually, the file will be in some kind of compressed format on your desktop (i.e. Winzip, etc). You'll have to use a 3rd party software to unzip the file. To make things easy, when unziping the file select "extract to here". The file then will successfully be on your laptop.
- Next go to start > Control Panel > Fonts. The Windows Font Folder will then open. Then take the font file from the desktop and drag and drop it into the Windows Font Folder.


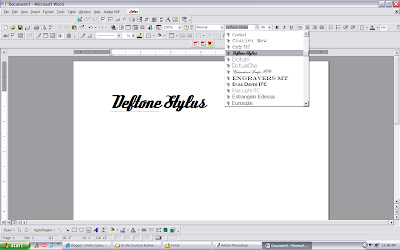
- Ta-da! You have successfully loaded your first font into your computer for use with Microsoft Word (or any other Microsoft program for that matter). Next open Word and enjoy creating a your own design!


No comments:
Post a Comment