Monday, December 29, 2008

Invitation Design and Your Event Venue

One of the most difficult tasks in the event planning process is deciding on a color scheme. Where does one start? Most people will start with a favorite color, choose based on the season, or might even choose a scheme they saw in a magazine and just really "liked". Or maybe it's blue to announce a new baby boy.

Something to consider when deciding on your final color scheme is your event venue. What colors are included in the room/tent/hall? For an outdoor wedding at a country club, the greens of the grass would be a potential color element you could tie into your scheme. For an event at catering hall or restaurant, most have some sort of paterned, colorful carpet from which you can also pull color ideas from. Using your venue for color inspiration can really help create a cohesive design that your guest will remember.

Here are some examples of invitations and the event decor they belong to for inspiration.


An Outdoor Wedding in Colorado


An Asian Wedding in San Francisco


A Loft Wedding in Brooklyn, NY


A Wedding at an Arbouretum


Thursday, December 4, 2008

Determining Your Stationery Budget

Before you can start creation of your dream event stationery package, you first need to determine a budget. If you're doing a low-key, family oriented event, you usually want to get away with spending as little as possible (so DIY would be the best option for you). For important events like weddings, most people figure on 3% of their total budget to go towards their stationery.

So that means on the average $26,232.00 brides spend on their weddings in the United States, $786.95 would normally be budgeted for stationery.

Considering how in most wedding magazines save the dates showcased average anywhere from $500-$1,000 for 100 (cards and envelopes) and invitations cost sometimes double that, it's no surprise majority of brides go the DIY route and make invitations and stationery themselves. However, with the right tricks up your sleeve, it's easy to make an invitation that is designed just like the fancy ones you see in the magazines. Trick is you save money on printing, assembly and paper stock in efforts to afford a good designer.

Now that you have your budget, contact Invite Couture today to see how we can help you create the invitation package you're looking for at a price you can afford!

Where to Find Cool Fonts and How to Load Them

Hundreds if not thousands of people go the DIY route when it comes to making invitations for their event. With many more chic paper options on the market today that are inkjet printer friendly, it's now easier than ever to make your own.

When going the DIY route however there is one stumbling block that will hamper your creativity: boring fonts. Most people will design their invitations in an easy to use word processing program like Microsoft Word. The only issue with Word is it comes pre-loaded with some of the most boring fonts on the planet.

There are several totally free websites that have a multitude of cool and fun fonts. A few of them include:

Granted, there are hundreds more than the 3 above I just mentioned. Just google "free fonts" and you'll see there are tons for you to sort through.

So after you find a font you like the next step is to download it and load it into the "fonts" folder for your Microsoft Office. The directions as follows are for if you have a Windows computer.

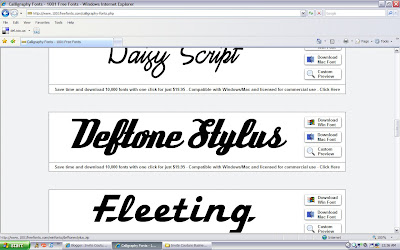
  1. First download the necessary font for your operating system (Windows or Mac) via the free fonts website of your choice.


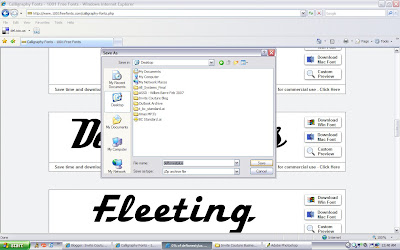
  2. When your computer prompts you as to where to save the file, save it to your desktop. (Note: you could save the file anywhere that's easiest for you, I just find the desktop to be easiest)


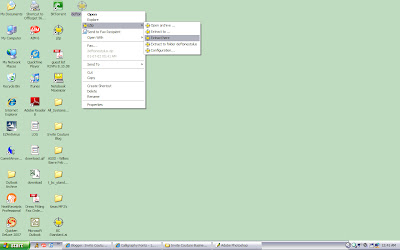
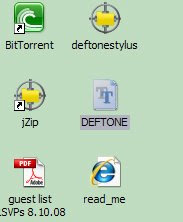
  3. Usually, the file will be in some kind of compressed format on your desktop (i.e. Winzip, etc). You'll have to use a 3rd party software to unzip the file. To make things easy, when unziping the file select "extract to here". The file then will successfully be on your laptop.


  4. Next go to start > Control Panel > Fonts. The Windows Font Folder will then open. Then take the font file from the desktop and drag and drop it into the Windows Font Folder.


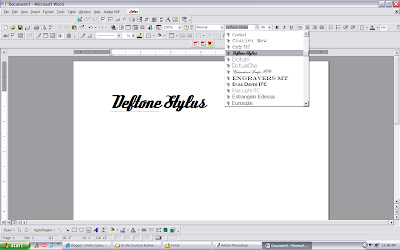
  1. Ta-da! You have successfully loaded your first font into your computer for use with Microsoft Word (or any other Microsoft program for that matter). Next open Word and enjoy creating a your own design!
Blog Widget by LinkWithin